
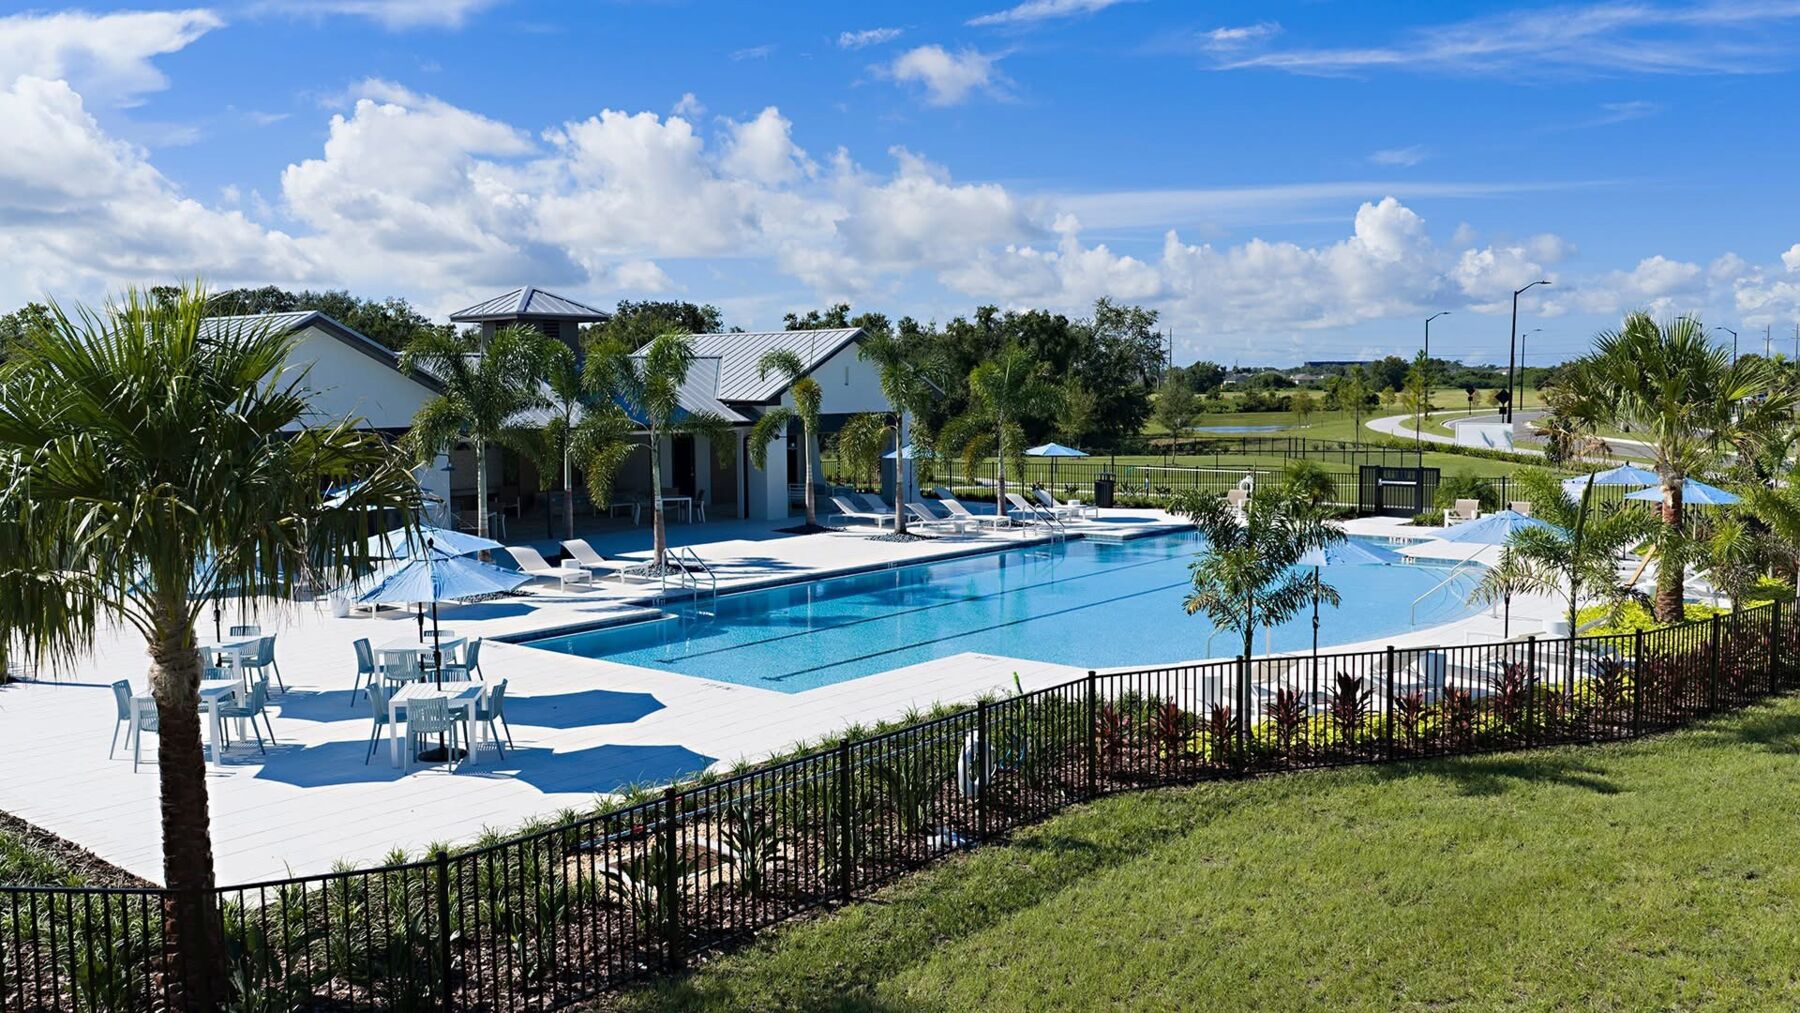
Living in Palmetto, FL
 )
)
The stages of new home construction follow an 8-step engineering sequence: site preparation, foundation pour, wood framing, mechanical rough-ins (HVAC, plumbing, electrical), insulation, drywall installation, interior and exterior finishes, and final inspection walkthroughs.
Home is the most important place in our lives, and buying a new home is one of the most exciting decisions you can make; however, it can also be a bit nerve-wracking if you’re unsure about how your home will be built.
Have no fear, because we’re here to walk you through every step! With the knowledge of our construction process, you and your family can have the peace of mind and confidence that you’re making the best possible choice by building a new home.
From avoiding the costly renovations and repairs many resale homes need, to having a home that is uniquely their own, there are many great reasons to build a new home. Don’t forget to review What Are the Steps to Build a Home to understand the essential steps you'll need to take before the construction crew can get to work!
Although specifics can vary based on location, regulations, and personal preferences, there are typically 8 steps to building a house:
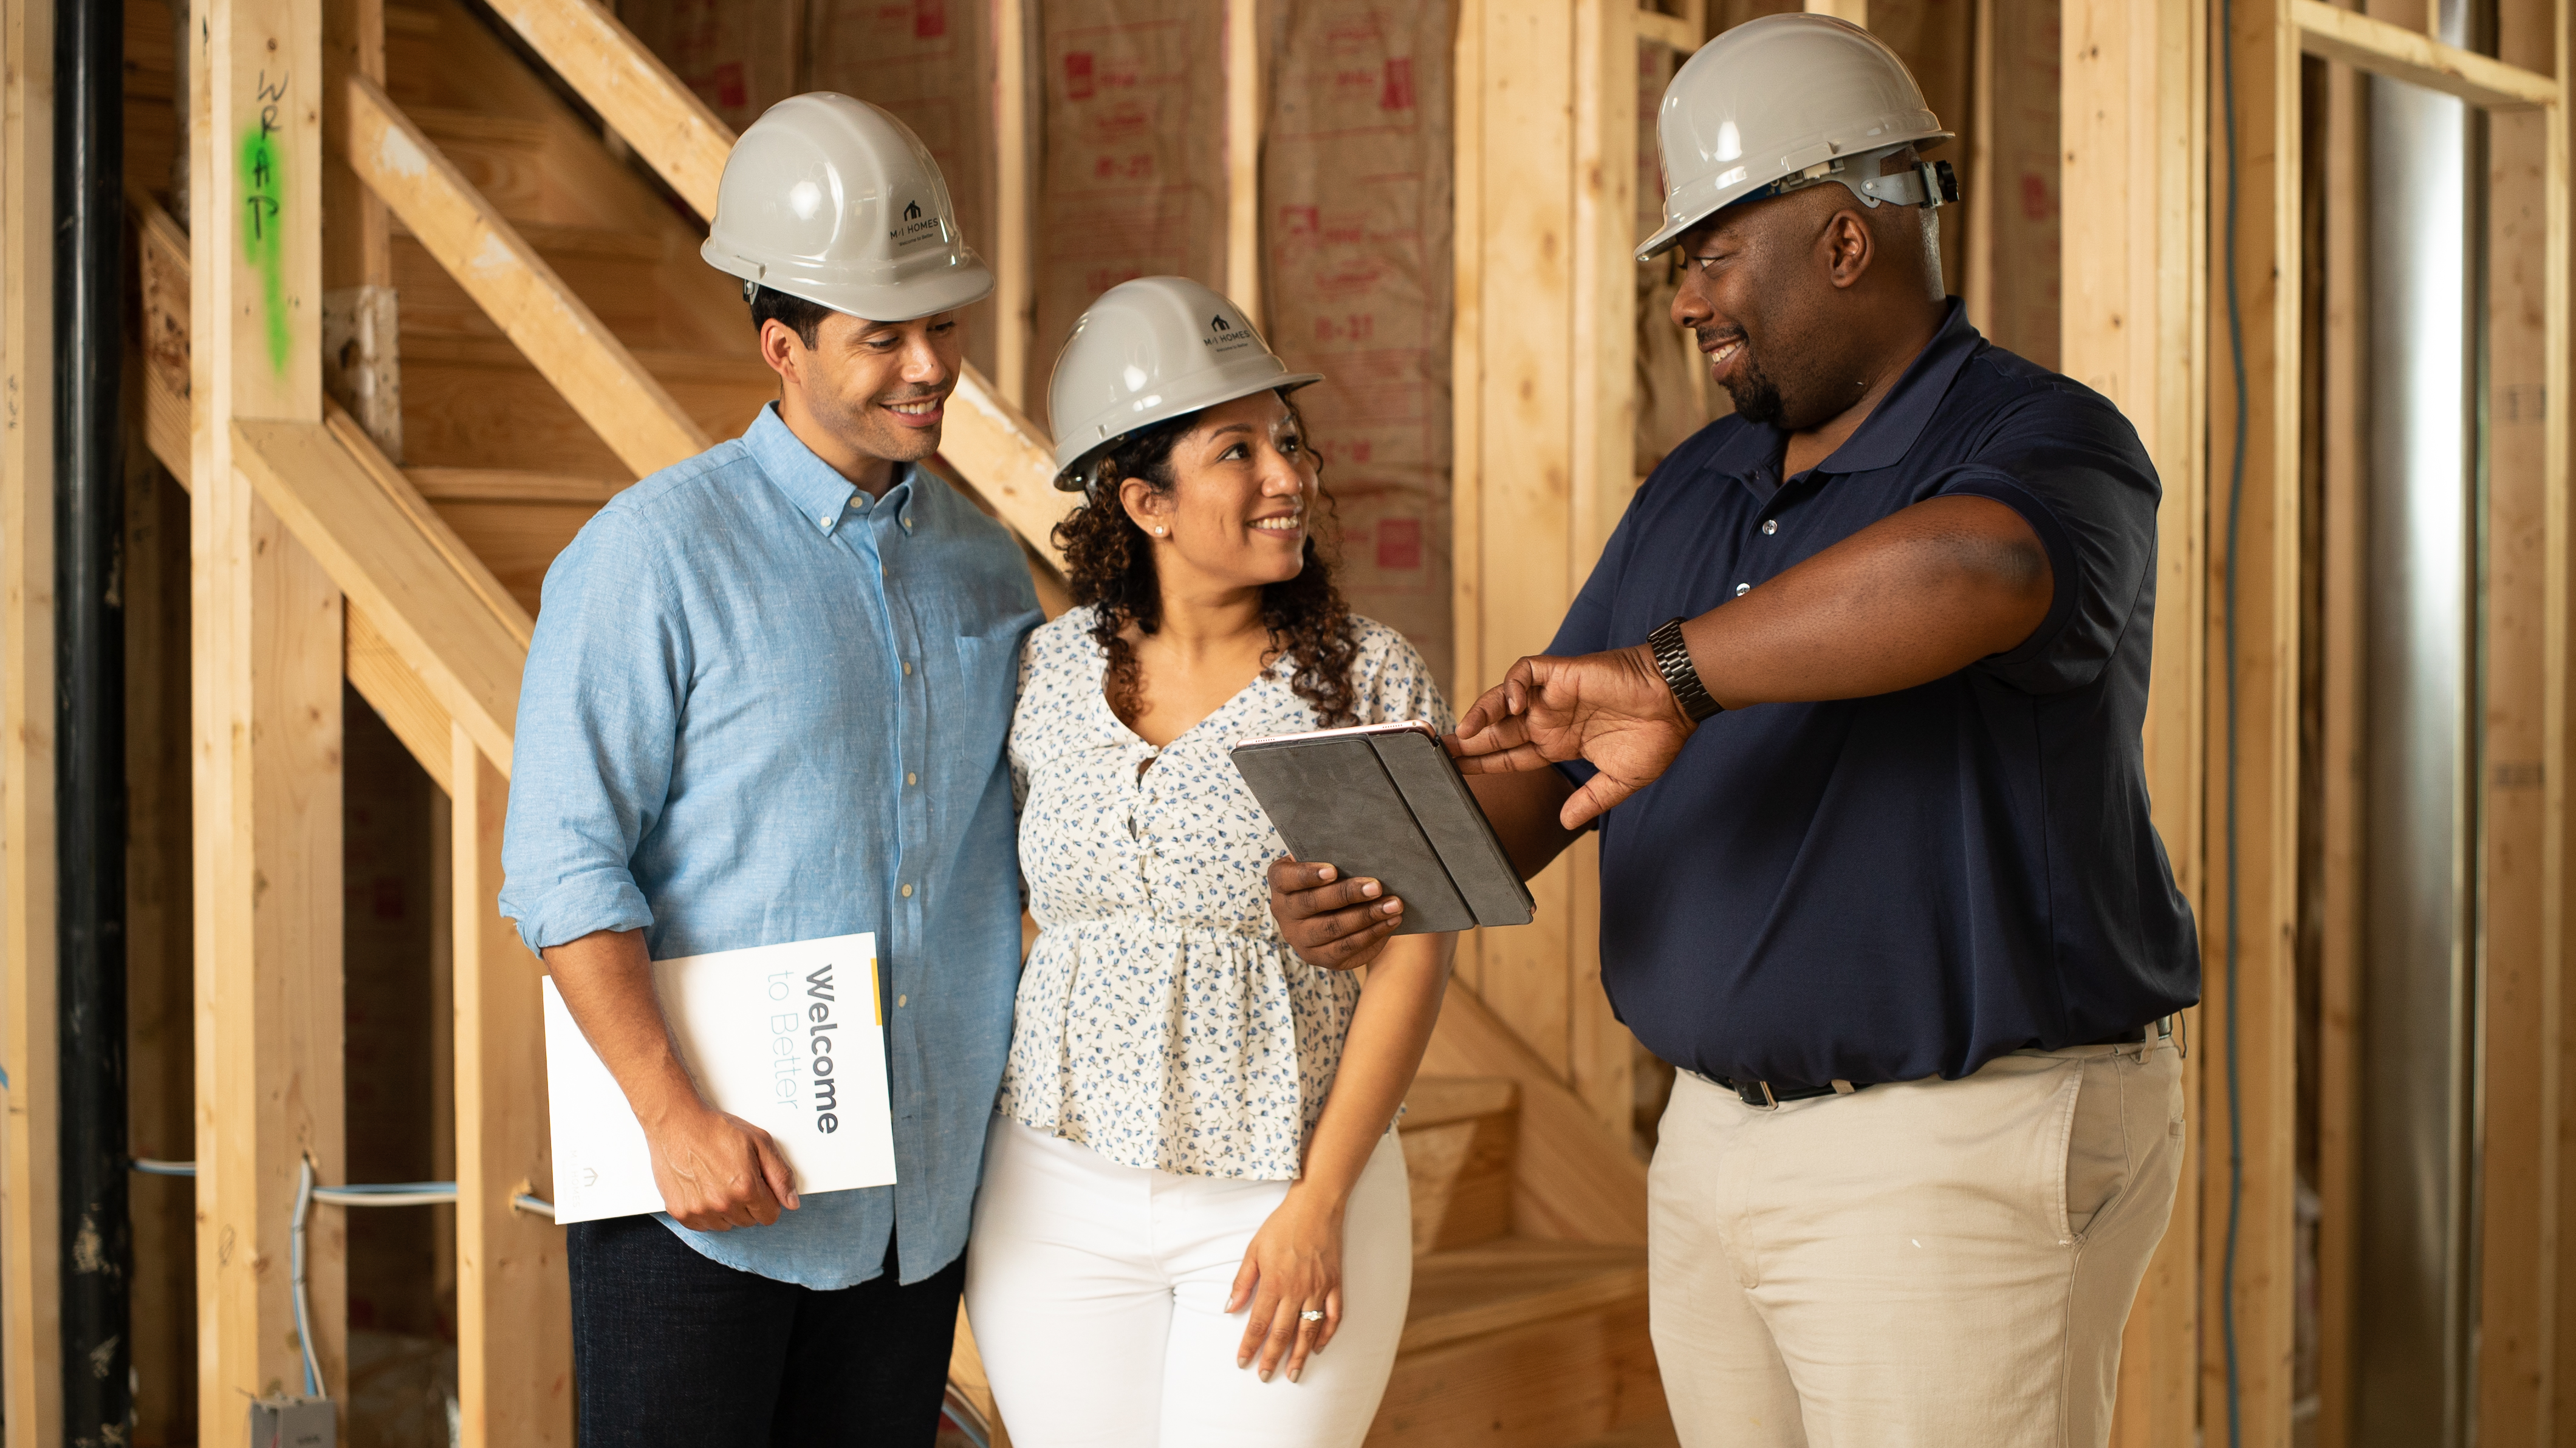
Professional homebuilders follow strict structural and municipal timelines. Below is a breakdown of the primary job site focus and key customer milestones across each phase of construction.
| Construction Stage | Primary Job Site Focus | Key Buyer Milestone |
|---|---|---|
| 1. Site Preparation | Lot surveying, clearing, excavation, soil grading, and setting up utility lines. | Plot plan sign-off and site excavation. |
| 2. Foundation | Pouring concrete slab, footers, or basement walls; waterproofing application. | Municipal foundation code inspection approval. |
| 3. Framing | Constructing exterior/interior walls, floor joists, roof trusses, and house wrap. | Seeing the home’s layout take shape in 3D. |
| 4. Mechanical Rough-Ins | Running plumbing supply lines, electrical wiring, and HVAC ductwork inside open studs. | Pre-Drywall Orientation on site. |
| 5. Insulation | Installing thermal barriers in exterior walls, attic spaces, and foundation edges. | Verifying energy efficiency and climate-control standards. |
| 6. Drywall | Hanging, taping, mudding, sanding, and priming interior wall panels. | Open studs transition into defined interior rooms. |
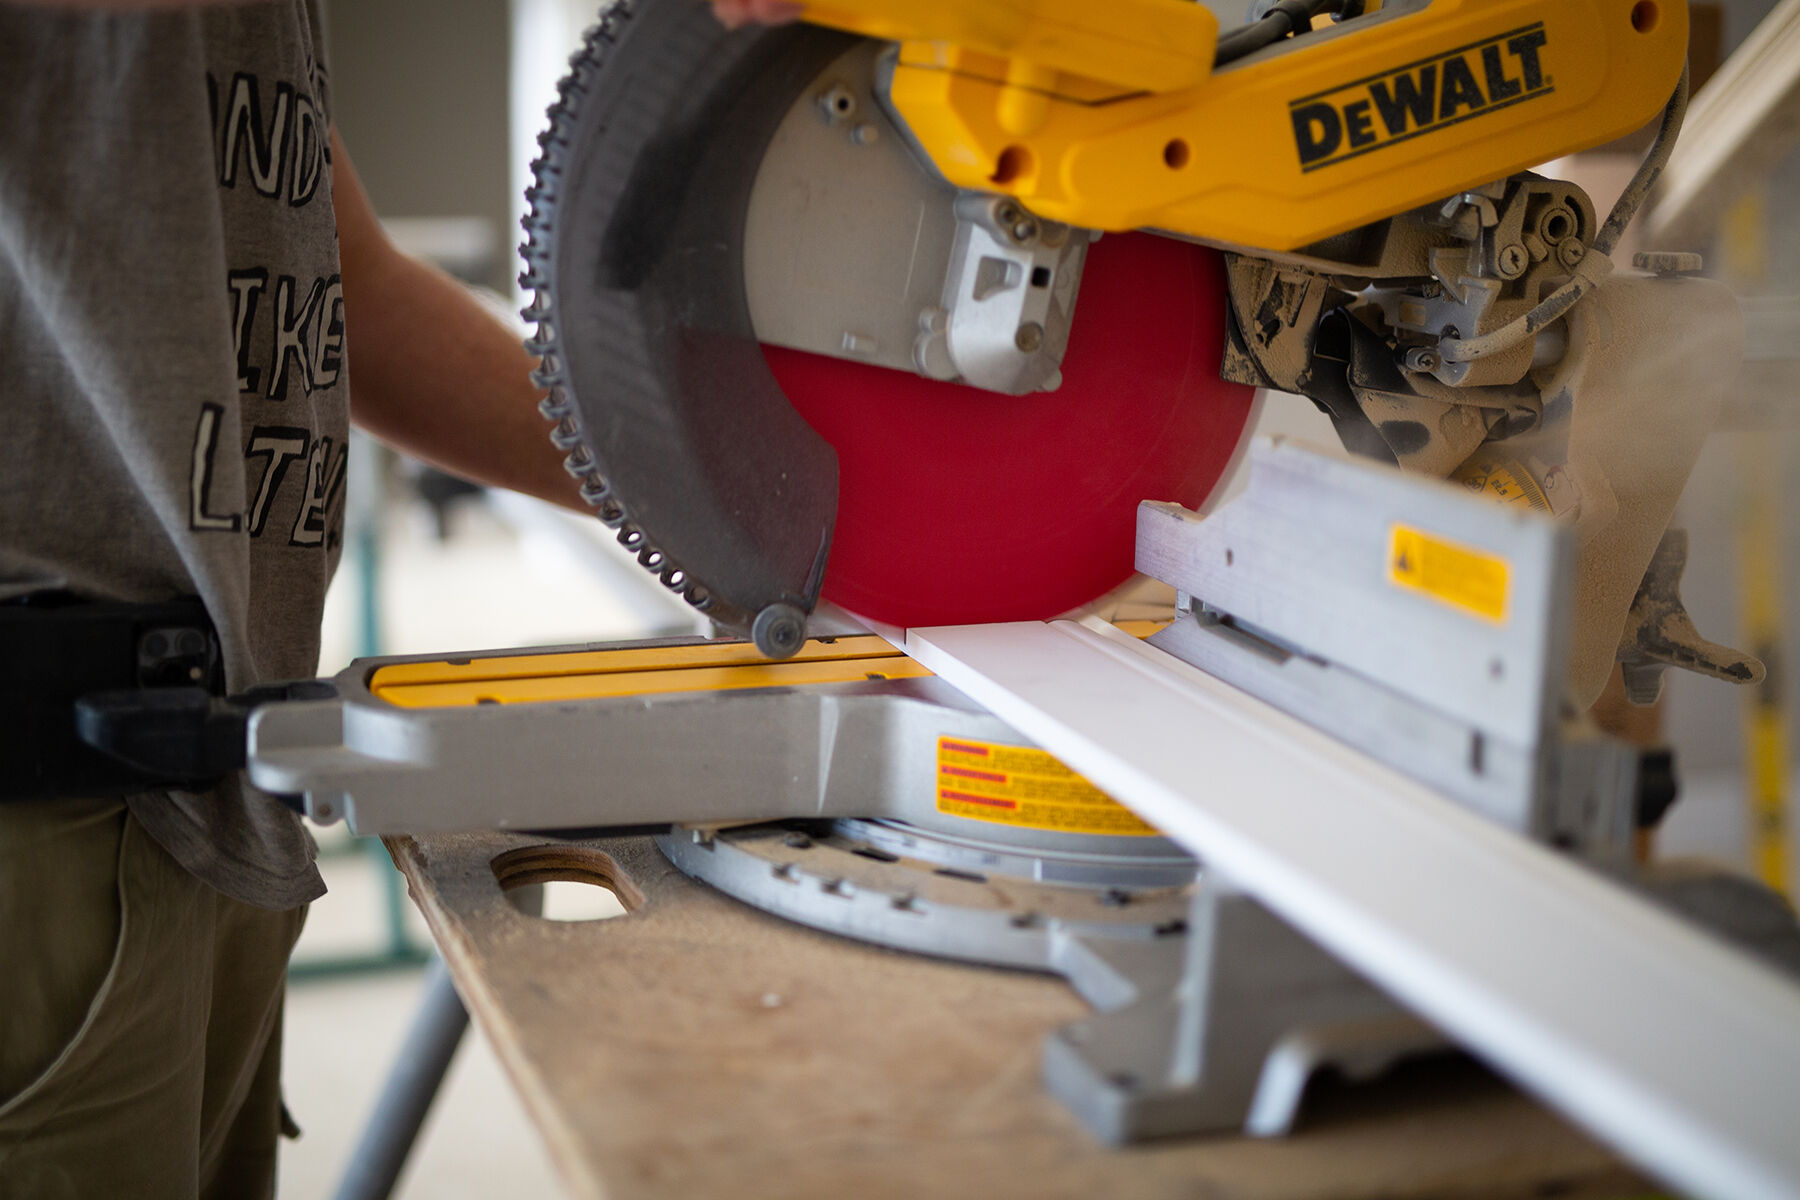
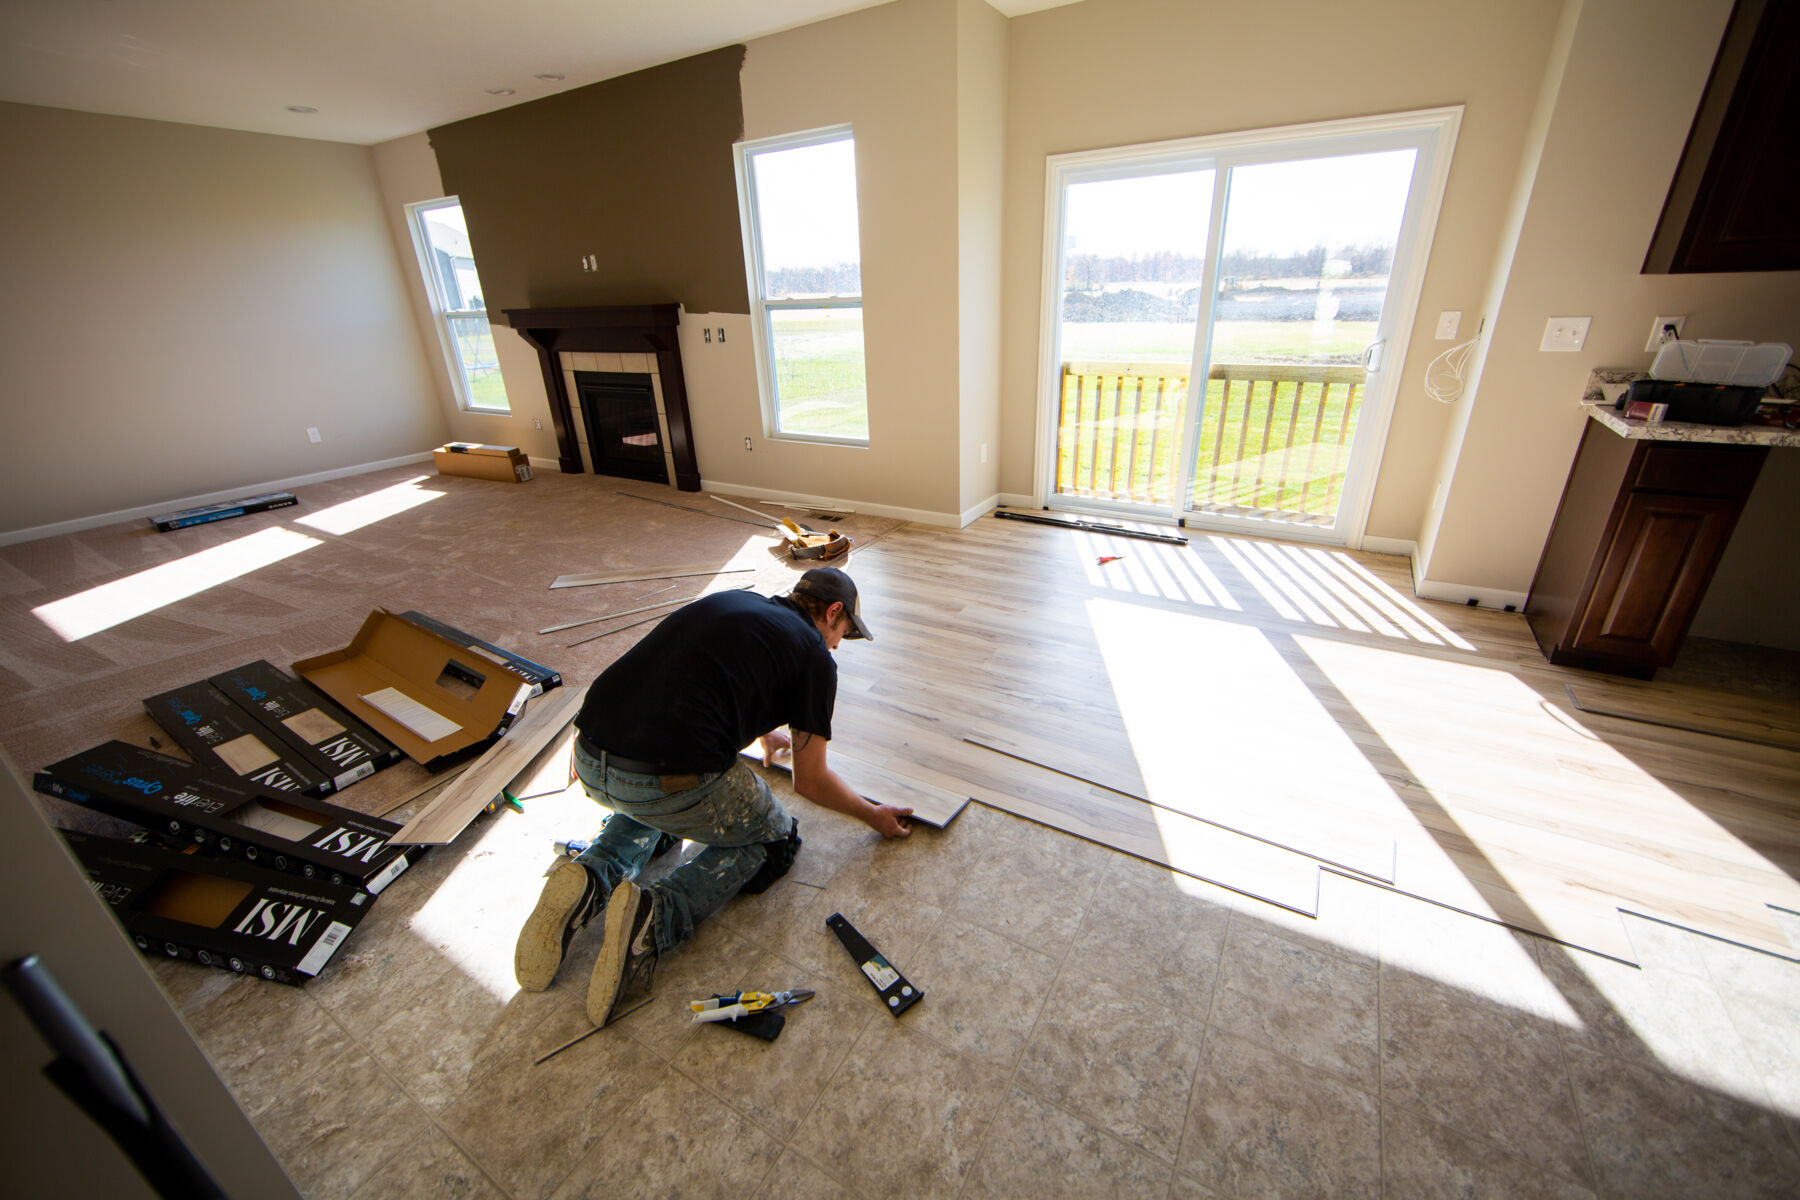
| 7. Finishes & Trim | Installing cabinets, countertops, flooring, trim, paint, exterior siding, and sod. | Design selections come to life on site. |
| 8. Final Walkthrough | Quality control checks, code compliance sign-off, and punch-list verification. | Final New Home Orientation walkthrough before closing. |
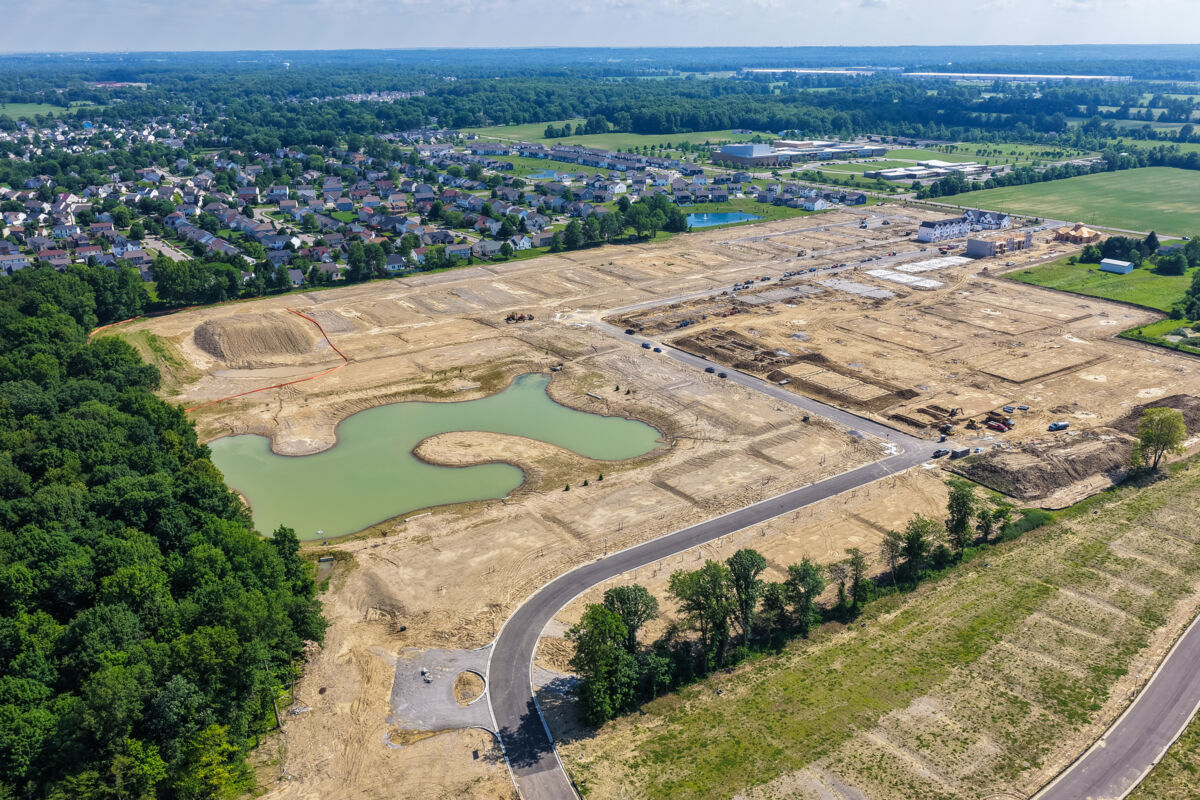
You chose the perfect homesite and floorplan, but before construction on your new home can begin, the land where it will sit must be prepared. The lot must be surveyed and utility access has to be set up.
Now that the lot has been prepped, we can start building your home! A concrete foundation is poured, which is then reinforced with steel rods prior to drying. Once it hardens, the foundation is sprayed with a waterproofing substance to ensure it will be dry for many years to come.
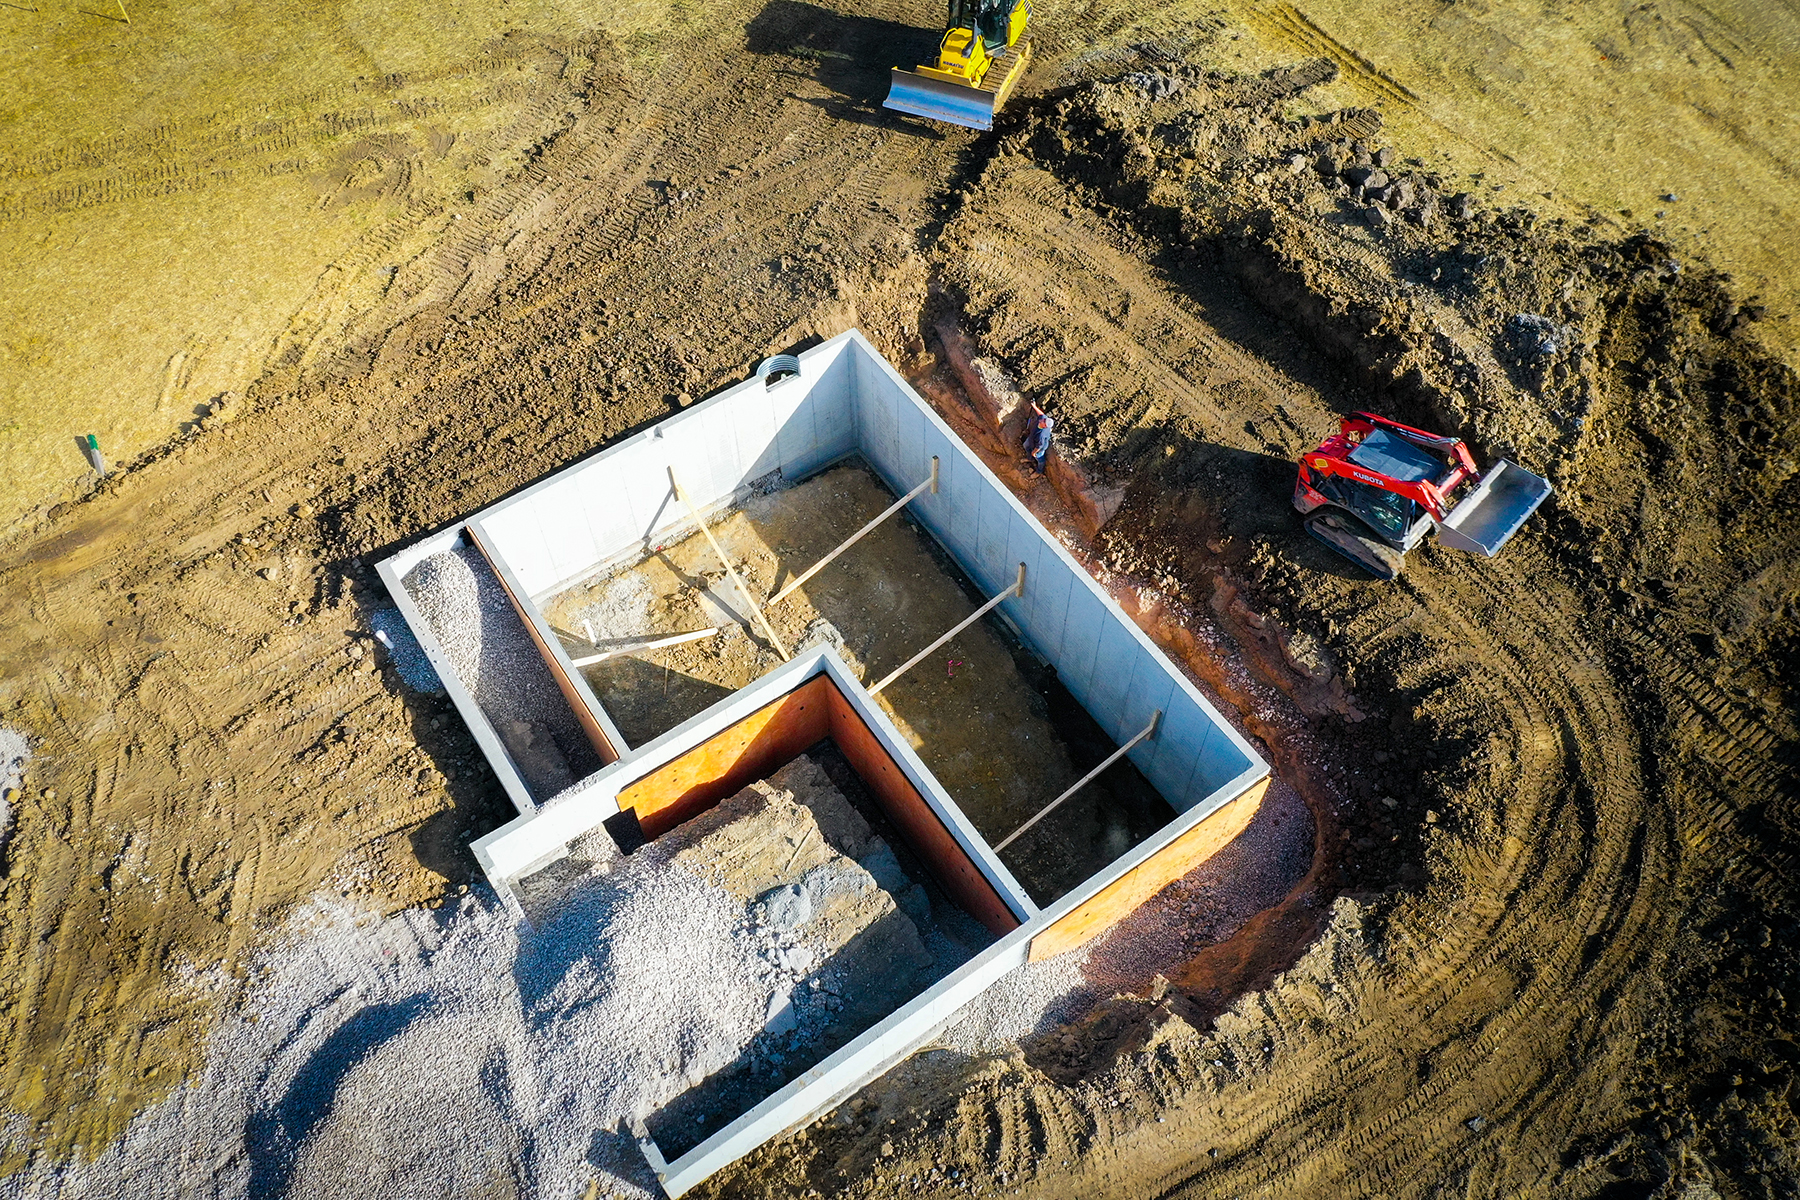
There are several types of foundations, and the geographic location of your home often determines which type is used. The most commonly seen are slab foundations and basement foundations; depending on where you’re building, options exist for both!
Before moving on to the next phase in the construction process, a city inspector will evaluate the quality of the foundation.
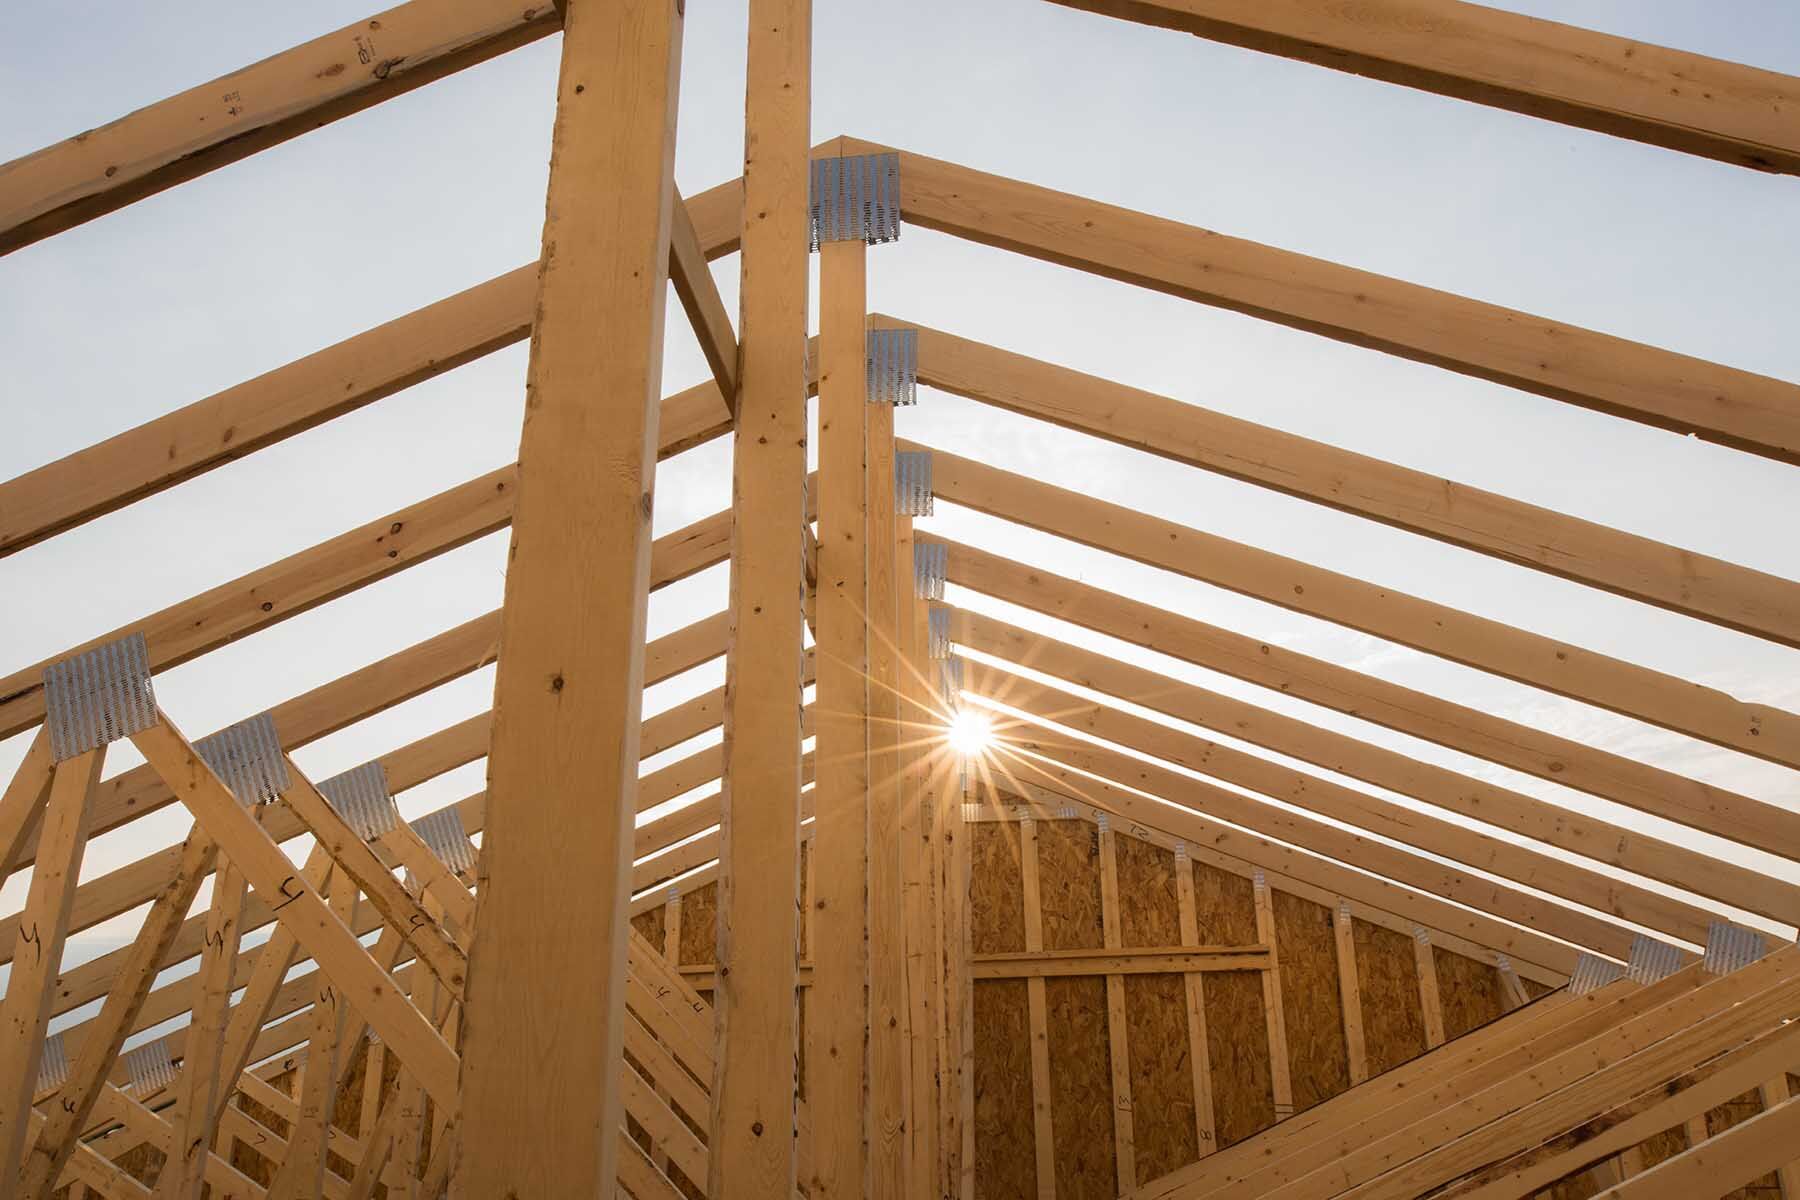
This is where it starts to get really exciting! With the wooden framing, you can literally see your home taking shape and notice that excellent floorplan you selected come to life.
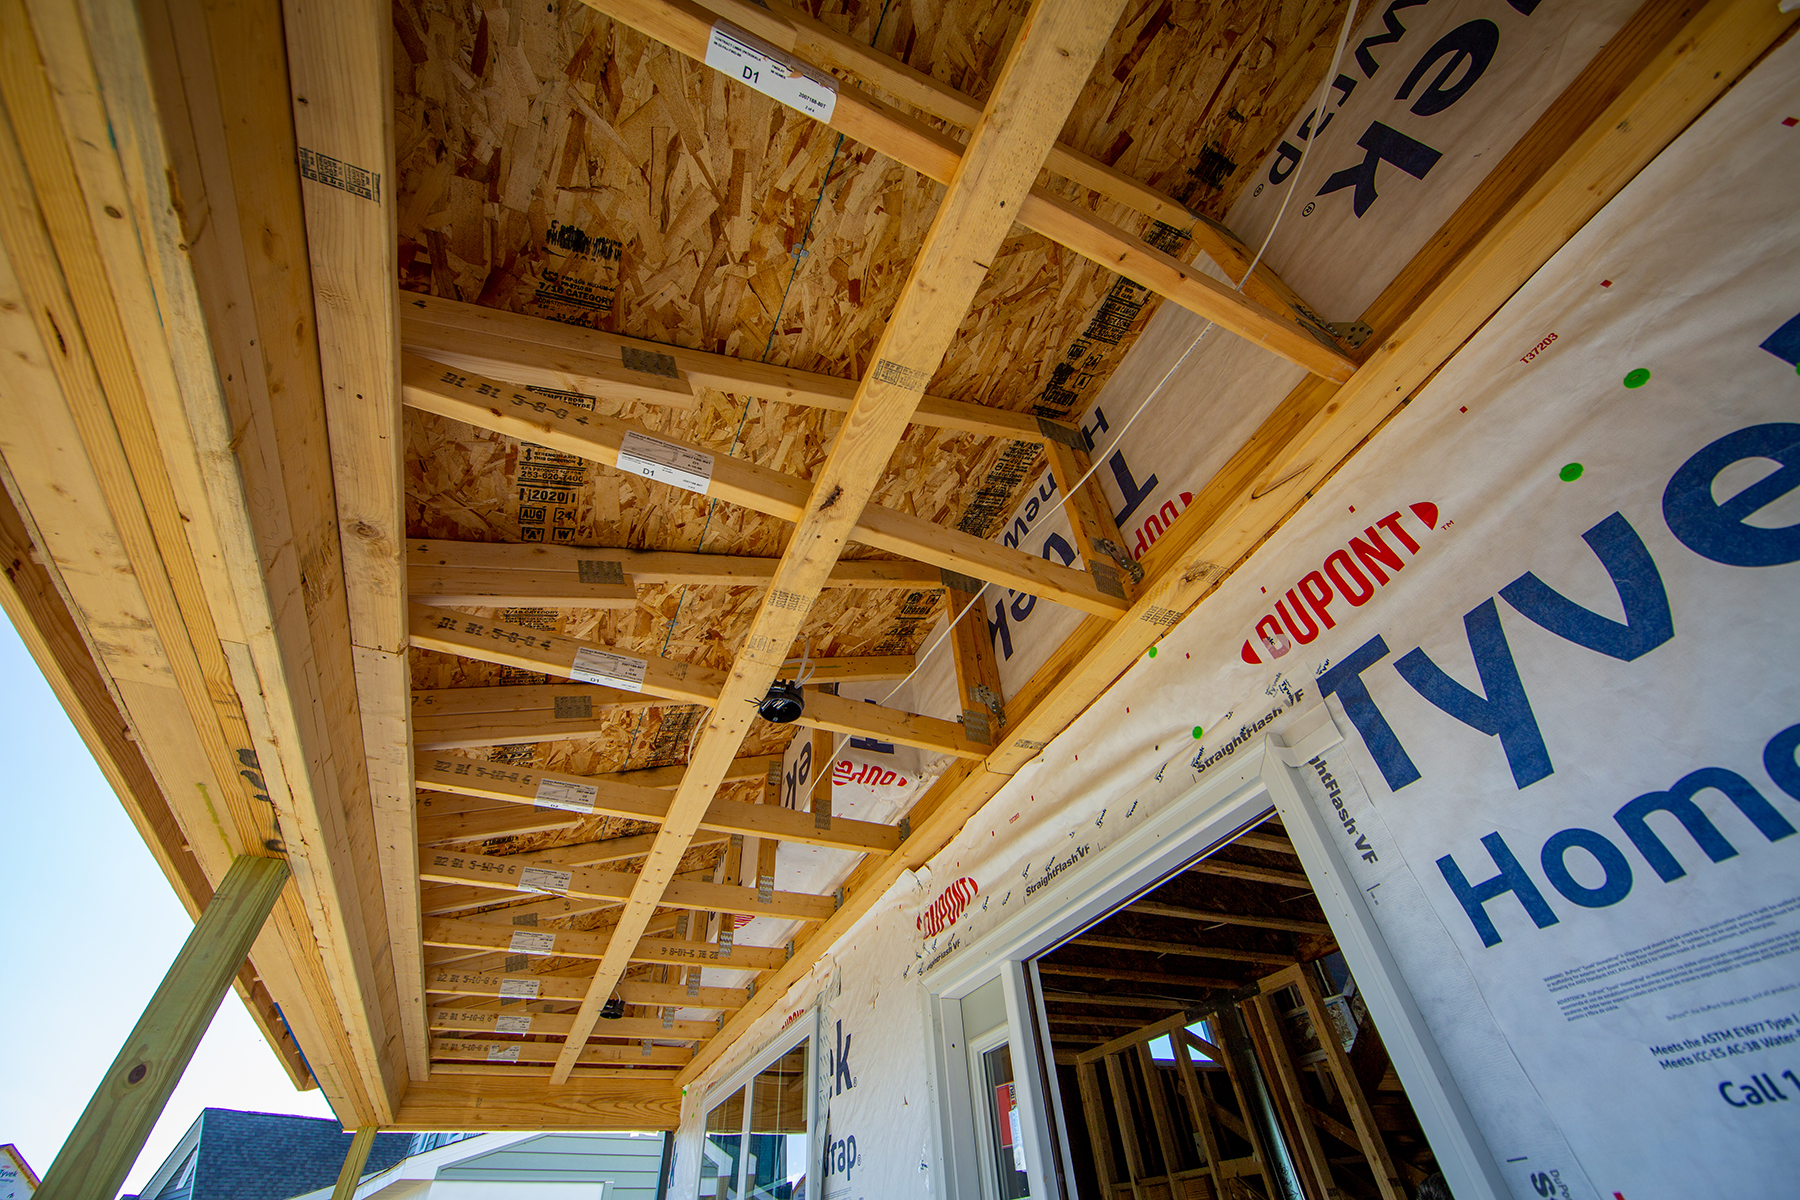
There’s quite a lot involved in this step:
This has a secondary function of improving the home’s energy efficiency by helping the insulation work better, keeping your home cool in the summer, and warm in the winter.
Your home is now dried-in, which means the interior is completely protected from rain and moisture. Now the major systems, including plumbing, electrical, and HVAC (heating, ventilation, and air conditioning), can be installed.
Once these components have been installed, inspectors proof them individually, making sure the home continues to be of the highest quality possible. Curious about keeping up with your progress during this phase? Learn more about how often to expect updates in your new home construction.
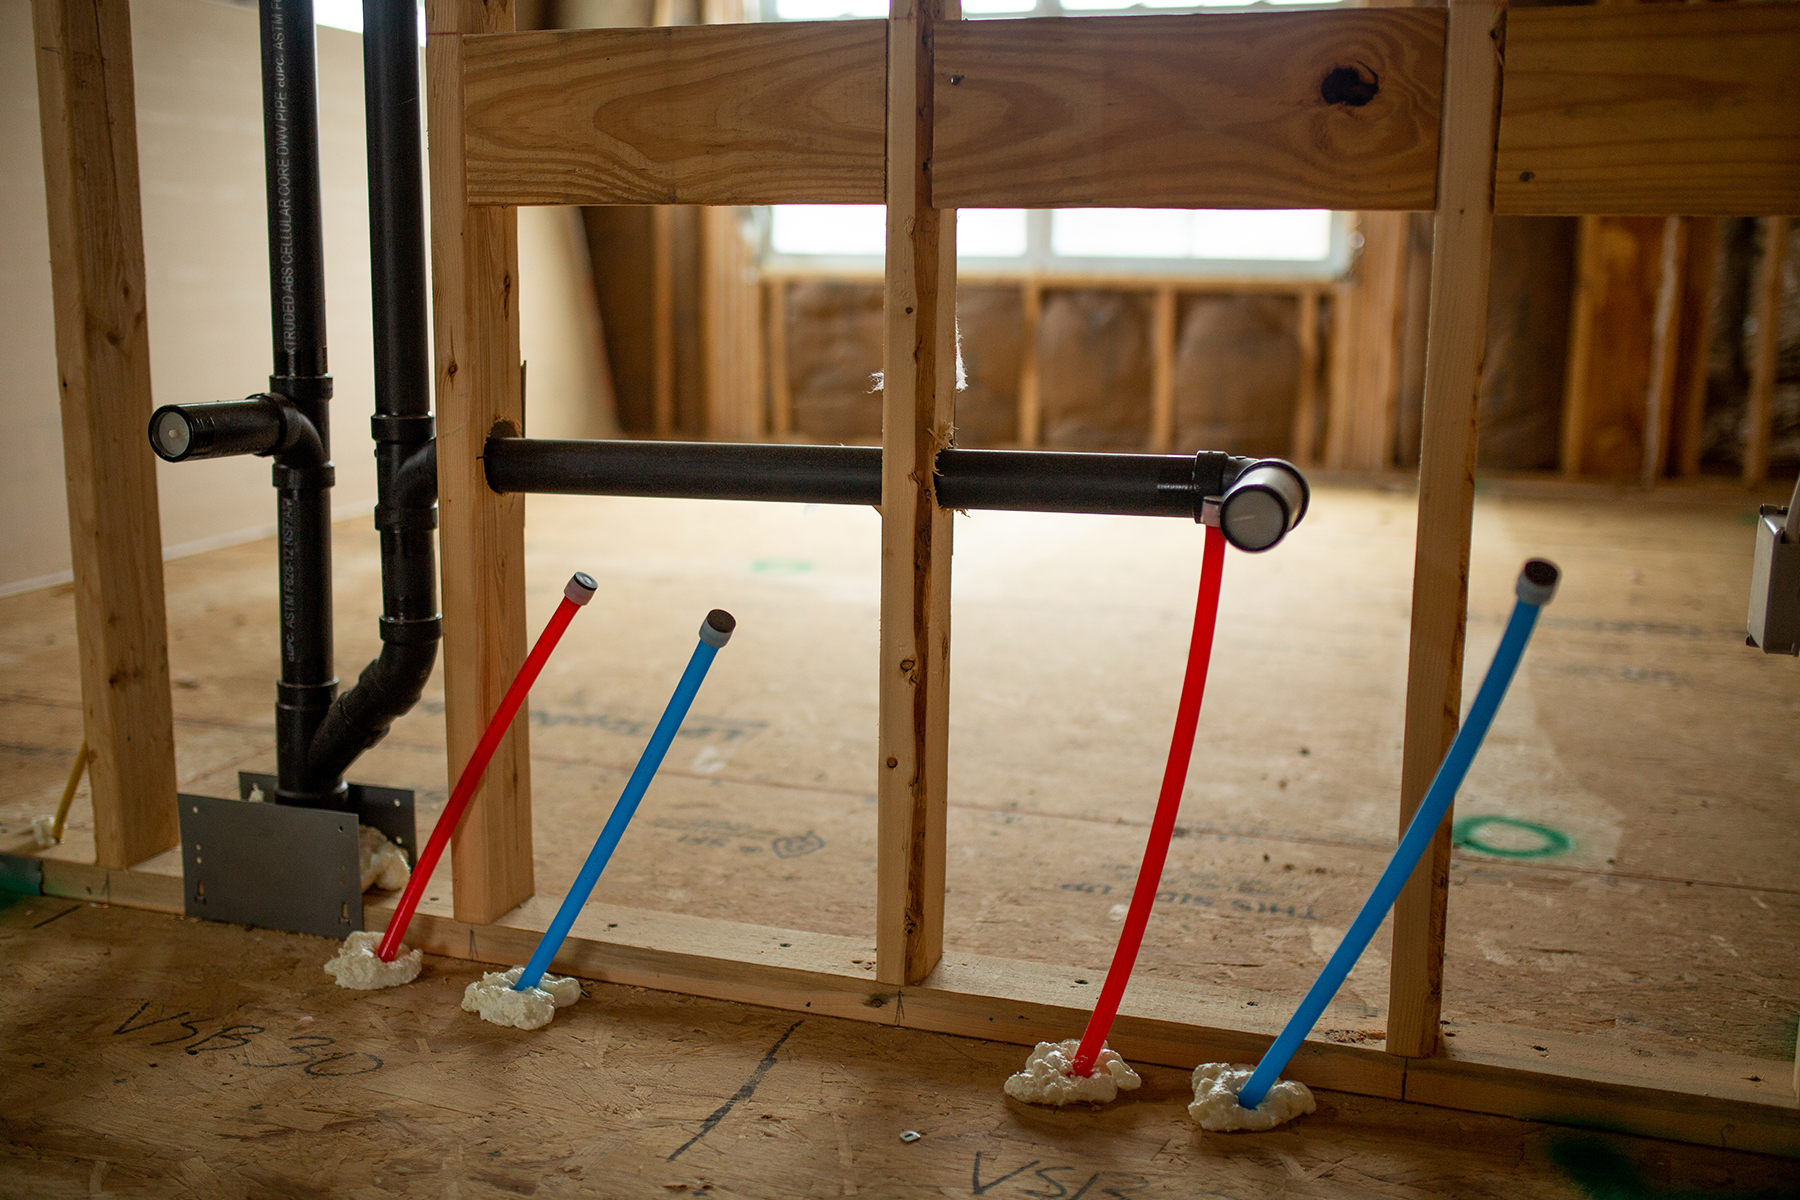
The next step is to install insulation, which will keep your home warm in the winter and cool in the summer.
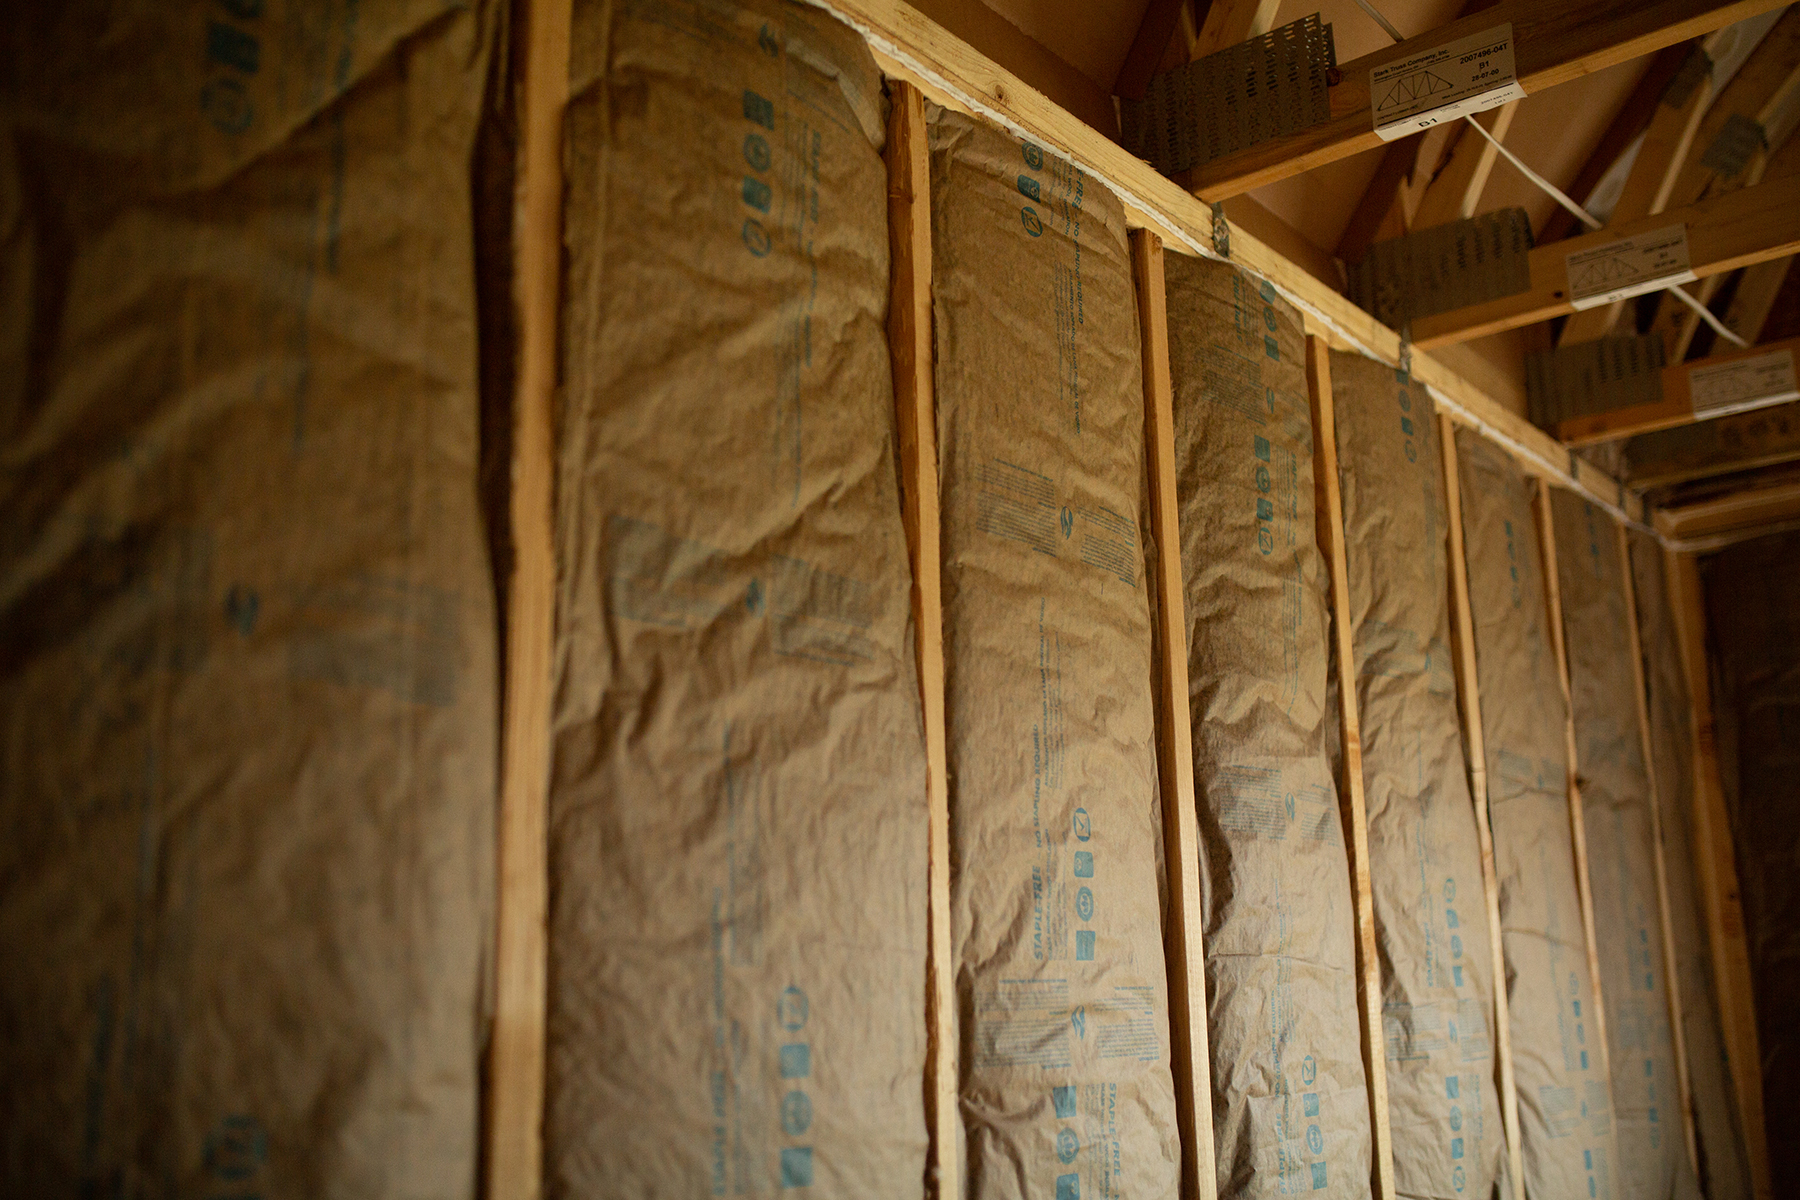
There are many types of insulation, and some are better suited than others, depending on the location’s climate. According to building science guidelines from the U.S. Department of Energy, effective insulation creates a continuous thermal envelope that significantly lowers heating and cooling energy usage.
Energy efficiency is important to reduce your energy costs (which means saving you money!), so the home must be properly insulated from the roof all the way down to the foundation.
The list of places needing insulation is extensive, but the biggest and most commonly thought of areas include the exterior walls, the attic, any floors above the garage, and the foundation.
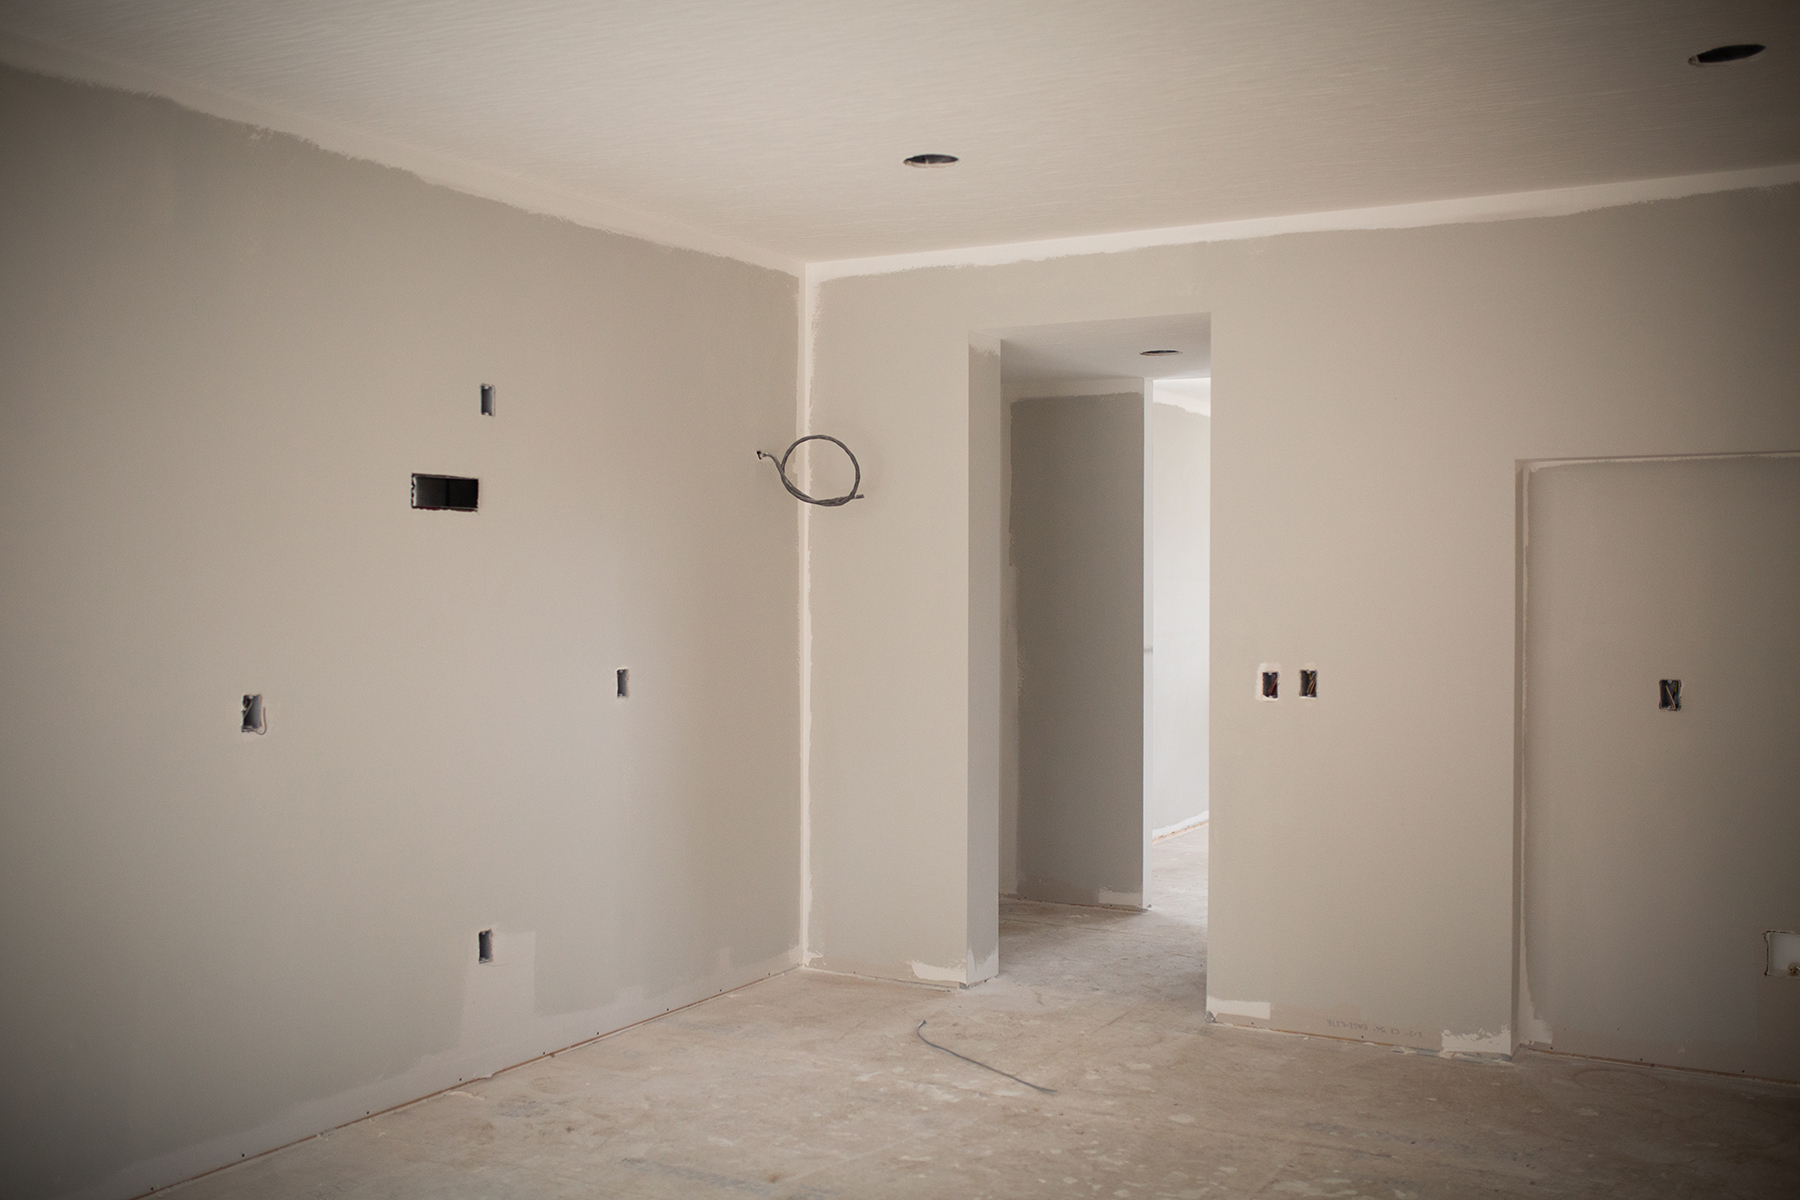
After your home has been properly insulated, the next step is to put up drywall on the walls and ceiling. Using specialty screws, brackets, and joint compound (commonly referred to as drywall mud), the construction crew will hang drywall to create the rooms in your home.
During this process, they will also cut out holes for lighting fixtures and electrical outlets. Once completed, the drywall will be primed with sealer so paint can be absorbed evenly across the entire surface area.
We're getting to the final stage of building your dream home! The interior will be completed in this stage, and you’ll love seeing the final essential touches being installed.
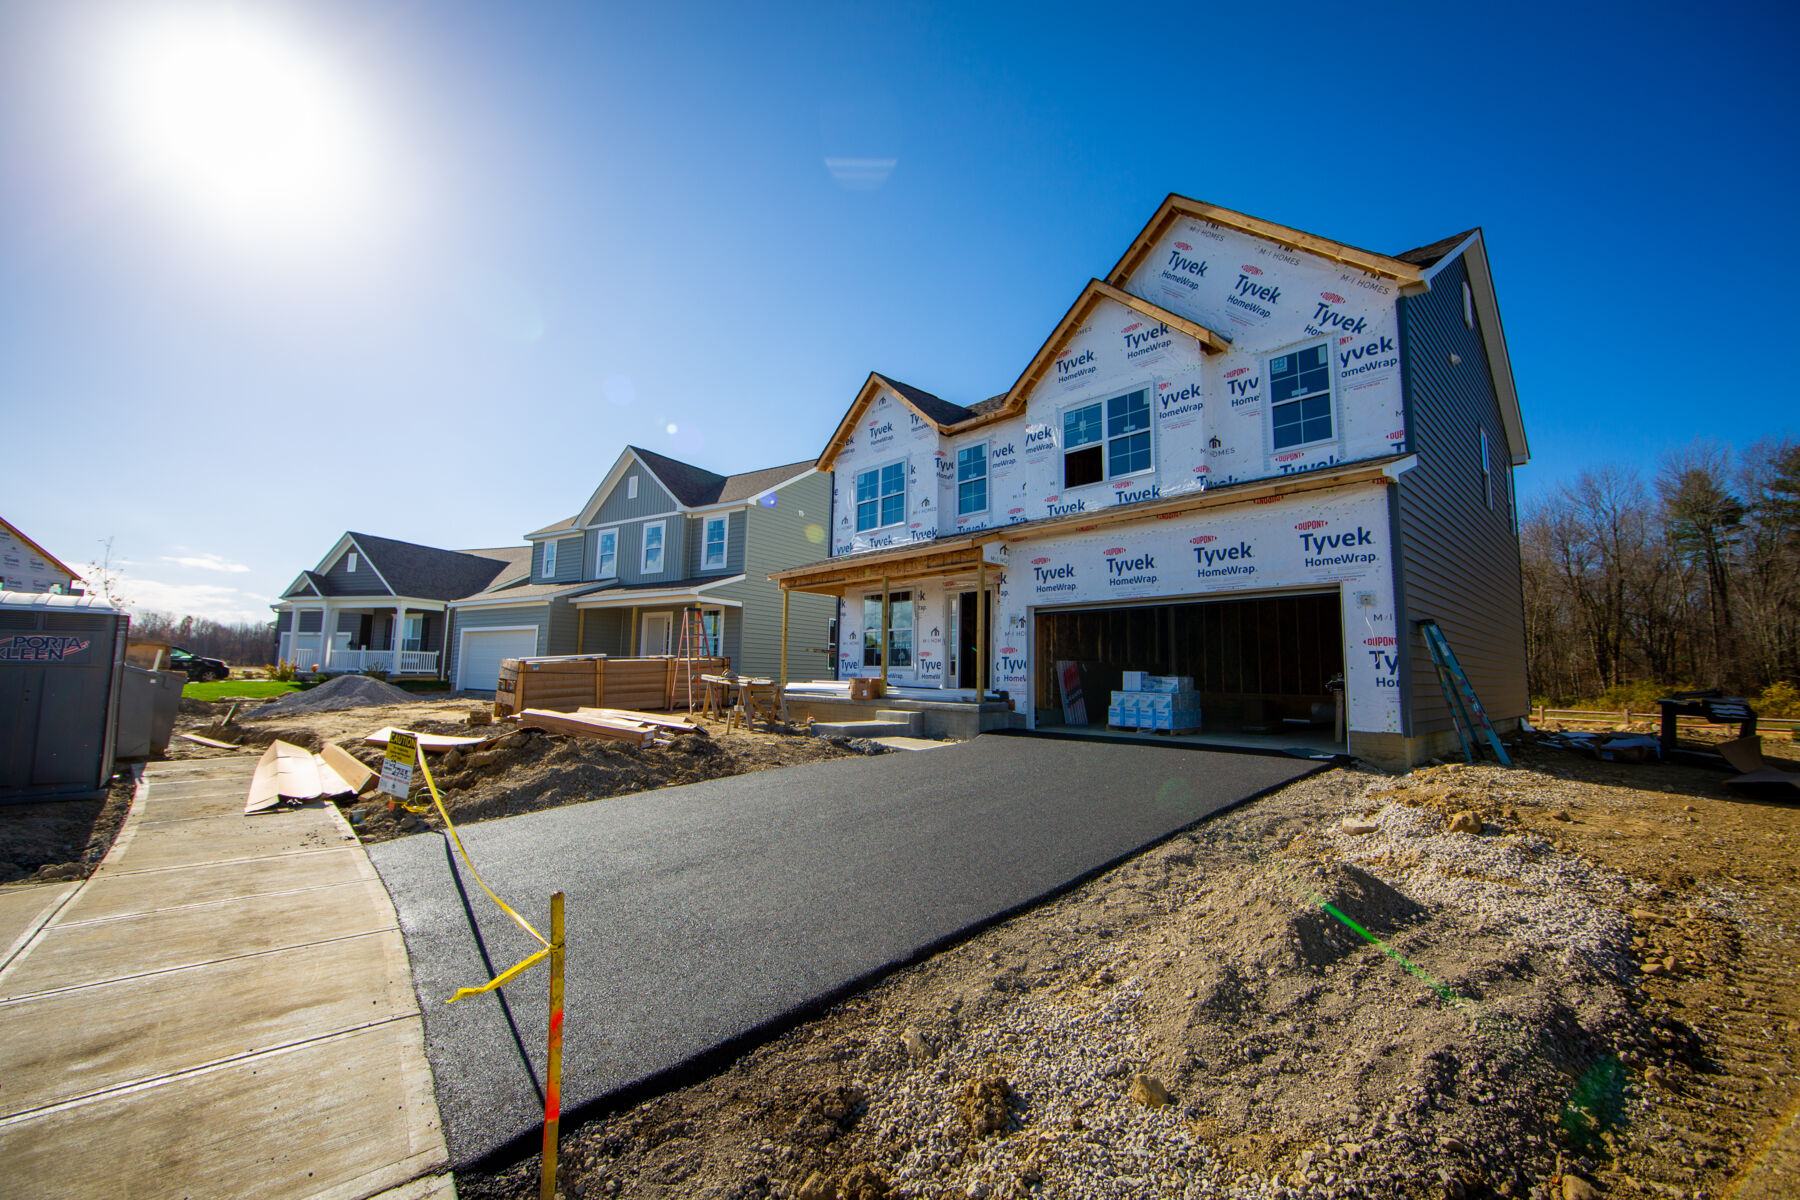
Everything from hardwood flooring and carpeting to countertops and cabinets, as well as doors and light fixtures are added. For the exterior, we'll make sure your driveway has been paved and sod has been added to your yard. For technical safety standards applied on residential sites during exterior finishing, refer to the Occupational Safety and Health Administration (OSHA).
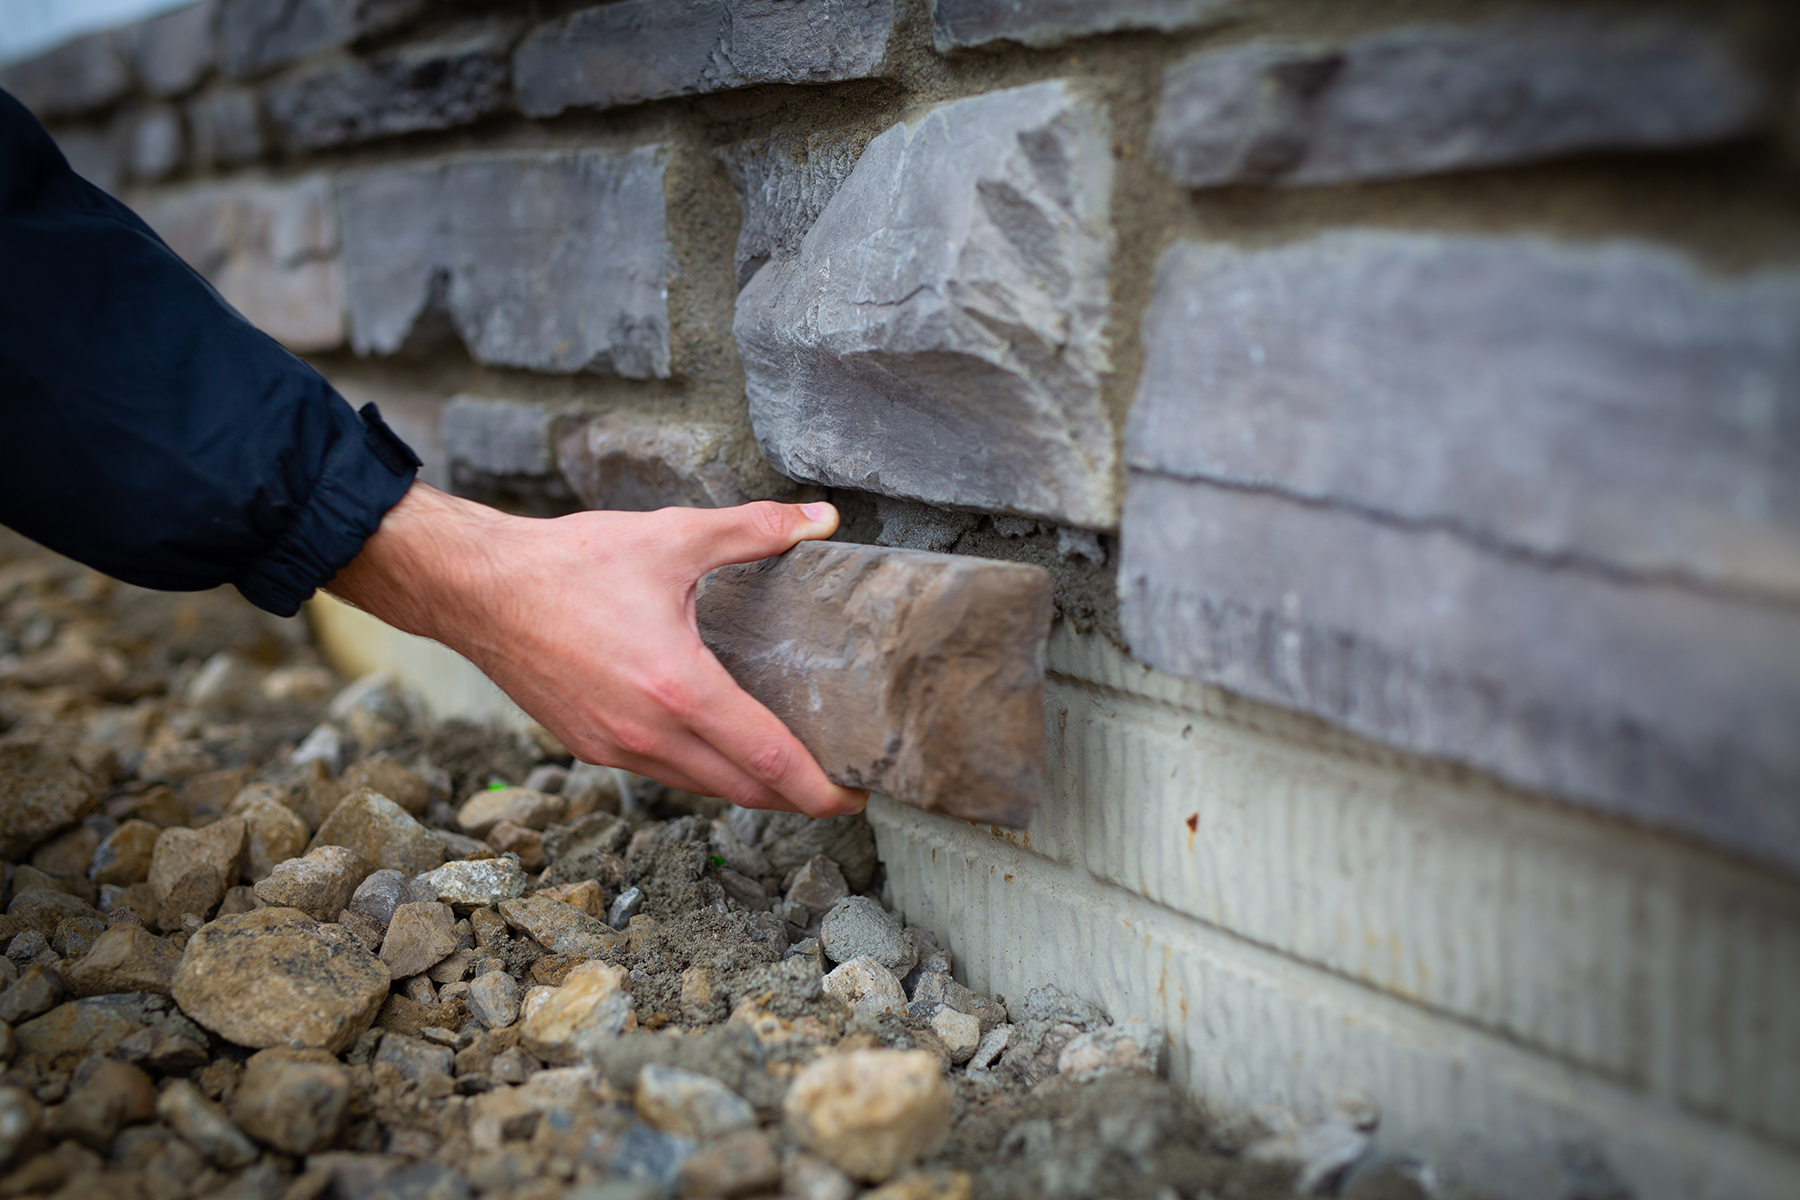
There are so many options to decide but worry not; top-notch Design Studios are staffed by professional design specialists who can help you select the perfect finishes for your home.
Congratulations: your new home is nearly done and ready for you to move into and fall in love with!
According to homebuilding industry statistics from the National Association of Home Builders (NAHB), completing a rigorous final inspection walkthrough ensures that structural, mechanical, and safety standards are fully verified prior to occupancy.
After passing the final inspection, you can walk through the home with the Construction Manager to make sure that it’s up to your personal standards. If you discover something that happened to be missed during the building process, this is when you can let us know so we can correct it for you.
Want to see this process for yourself? Check out this awesome video of a model home as it is built from the ground up!
Living in Palmetto, FL

New Construction Home Warranty: What You Should Know
By browsing, you accept our terms of use and privacy policy.


